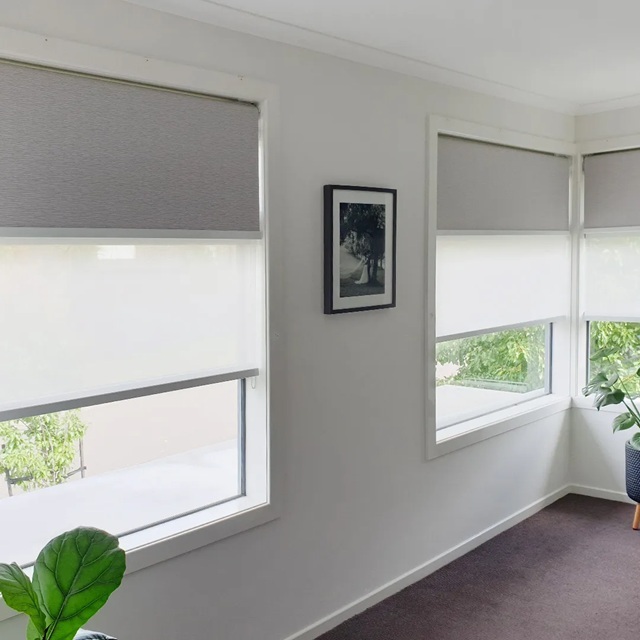
Roller blinds are an excellent choice if you’re looking to enhance your home with a practical and stylish window treatment. Whether you want to control natural light, boost privacy, or just give your space a modern touch, these treatments are a perfect choice. The best part? Installing them yourself is easier than you might think. With just a few tools and simple steps, you can have them up in no time – without the hassle of hiring a professional.
If you’re thinking about installing them yourself, the best way to get a perfect fit is to buy roller blinds tailored to your space. Instead of struggling with standard sizes that might not sit quite right, custom ones ensure you get exactly what you need – tailored to your space, style, and preferences.
You can choose everything from the type and design to the exact size, making the installation process much smoother. Plus, having blinds that are made just for your windows means they’ll look seamless and function perfectly, without any awkward gaps or adjustments. In this DIY guide, I’ll walk you through everything you need to know to get them installed quickly and effortlessly.
Prepare the Essentials
So, can I install roller blinds myself? Absolutely – this is more than doable, even if you’re not a DIY expert. But before you jump into the installation part, take a moment to get everything you need in one place. Having all your tools ready will make the process way smoother. No running around mid-installation looking for a screwdriver. Here’s what you’ll need:
- Tape measure – To get accurate measurements before mounting. Using a laser measure can add a touch of precision and ease, but a standard tape measure works too;
- Pencil – For marking where your brackets will go;
- Drill and drill bit – Essential for securing the brackets into place;
- Screwdriver (optional) – Handy for tightening screws, especially in tricky spots;
- Screws (provided with the blinds) – Make sure you have these on hand;
- Roller blinds – The star of the show;
- Ladder (optional) – If your windows are high up, you’ll need one.
Take Measurements
Now that you’ve got all your tools ready, it’s time to measure your window space. This step is crucial because when you buy roller blinds that fit, they create a seamless, polished look that instantly elevates your space. Start by measuring the width of your window, making sure to take note of whether you want the blinds to sit inside the frame for a sleek, built-in look or extend slightly beyond it for extra coverage.
Accuracy is key here – grabbing the wrong measurements could mean treatments that are too small or too big and difficult to install, and let in unwanted light. If you want to make things even easier, a laser measure is a great option for precision.
Take a moment to double-check your numbers before moving on, just to be sure everything lines up perfectly. Once you’ve got those exact measurements in hand, you’re ready to order blinds that will fit like they were made for your space. Getting this step right means a smoother installation and a flawless finished look that instantly upgrades your room.
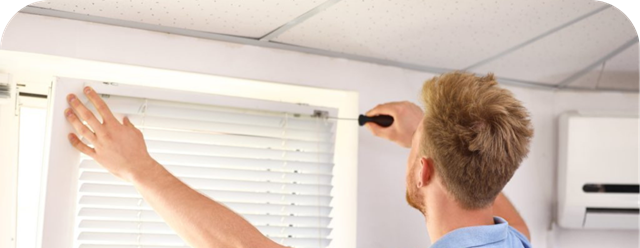
Mark the Bracket Placements
With your measurements sorted, the next step is marking where your roller blind brackets will go. First, decide whether you’re going for a top fix where the brackets attach to the ceiling of the window recess or above the frame, or a face fix where they’re mounted onto the wall or inside the frame itself. Your choice will depend on the look you’re going for and the type of window you have.
Once you’ve made that decision, grab a pencil and mark the exact spots where the brackets will sit. Make sure they’re level and evenly spaced so the blinds roll up and down smoothly without looking lopsided. If you have vinyl windows, avoid screwing directly into the frame – an inside fit works better for wooden frames. Take your time to ensure that when it’s time to drill, everything lines up perfectly.
Install Brackets and Blinds
Start by drilling small pilot holes first to prevent any unnecessary damage to your walls. Once the holes are ready, fasten the brackets firmly, making sure they’re tight enough to provide solid support – especially if you’re working with larger treatments that carry more weight. A secure fit ensures they function smoothly and stay put for the long haul.
Now, it’s time to attach your DIY roller blinds. Start by sliding the control end, which holds the chain mechanism, into one bracket. This is often called the male bracket. Once that’s in place, insert the pin end into the other bracket, known as the female bracket. Before stepping back to admire your work, give the setup a quick test to ensure the chain moves freely and isn’t tangled.
Gently roll them down to floor level, then raise them back up to see how smoothly they move. If anything feels off – maybe the fabric doesn’t glide evenly, or the motion seems a bit stiff – don’t worry. A quick adjustment to the tension can usually fix the issue. It’s also worth checking the chain stopper and bottom rail to make sure everything is positioned correctly and working as it should. These small details help prevent the roller blinds from rolling too far and ensure they operate safely.